Resolving Collisions Using Vectors
Learn how to detect and resolve collisions between moving objects using vectors in SplashKit.
Written by:
Last updated: 08 Dec 24
Full C# and Python code for this tutorial is still in development.
Resolving Collisions Using Vectors
Section titled “Resolving Collisions Using Vectors”In this tutorial, we’ll explore how to detect and resolve collisions between moving objects (in this case, balls) using vector mathematics in SplashKit. We’ll cover the use of vectors to calculate collisions, adjust object positions, and update velocities based on the principles of physics. This will be particularly useful if you are interested in game development or any application where collision detection is essential.
SplashKit Vector Functions Used in This Tutorial
Section titled “SplashKit Vector Functions Used in This Tutorial”A Quick Background on Physics
Section titled “A Quick Background on Physics”In this tutorial, we’ll use circles to demonstrate SplashKit functions. Understanding some basic physics concepts will help you extend these ideas to your own programs. Here’s a quick overview of the properties we’ll work with:
- Position: A circle’s position in the window is represented by a
point_2d, which consists of an{x, y}coordinate pair. - Velocity: Each circle has a velocity, initially set to 0, represented by a
vector_2d. This{x, y}pair indicates the change in position{x, y}over a given time interval. - Acceleration: Each circle also has an acceleration, initially set to 0, represented by another
vector_2d. This{x, y}pair shows how the velocity{x, y}changes over time. - Mass: In this tutorial, we scale the mass of each ball linearly with its radius, without considering density.
To manage these properties for our circles, we’ll create a struct that encapsulates all the necessary information. This struct will be used for collision detection and applying forces:
// Structure to represent the ball objects on the screenstruct ball{    circle ball_circle;     // Holds the ball position and radius properties    vector_2d velocity;     // Speed of the ball    vector_2d acceleration; // Acceleration of the ball
    float mass; // Mass of the ball, determined by the radius. Used in calculation of momentum    int id;     // Unique ball identifier};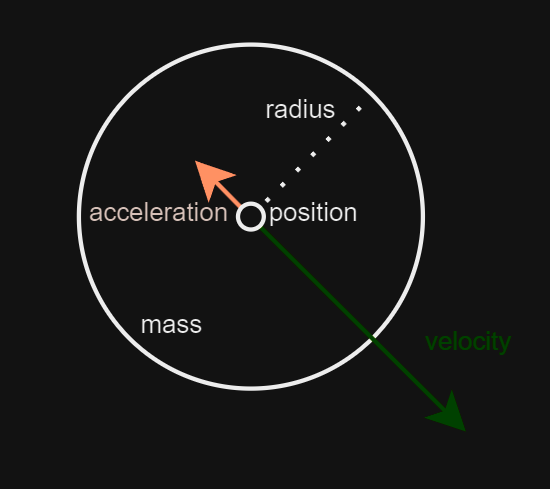
Applying Forces to Balls
Section titled “Applying Forces to Balls”Let’s see how applying a force affects the movement of a ball. To do this:
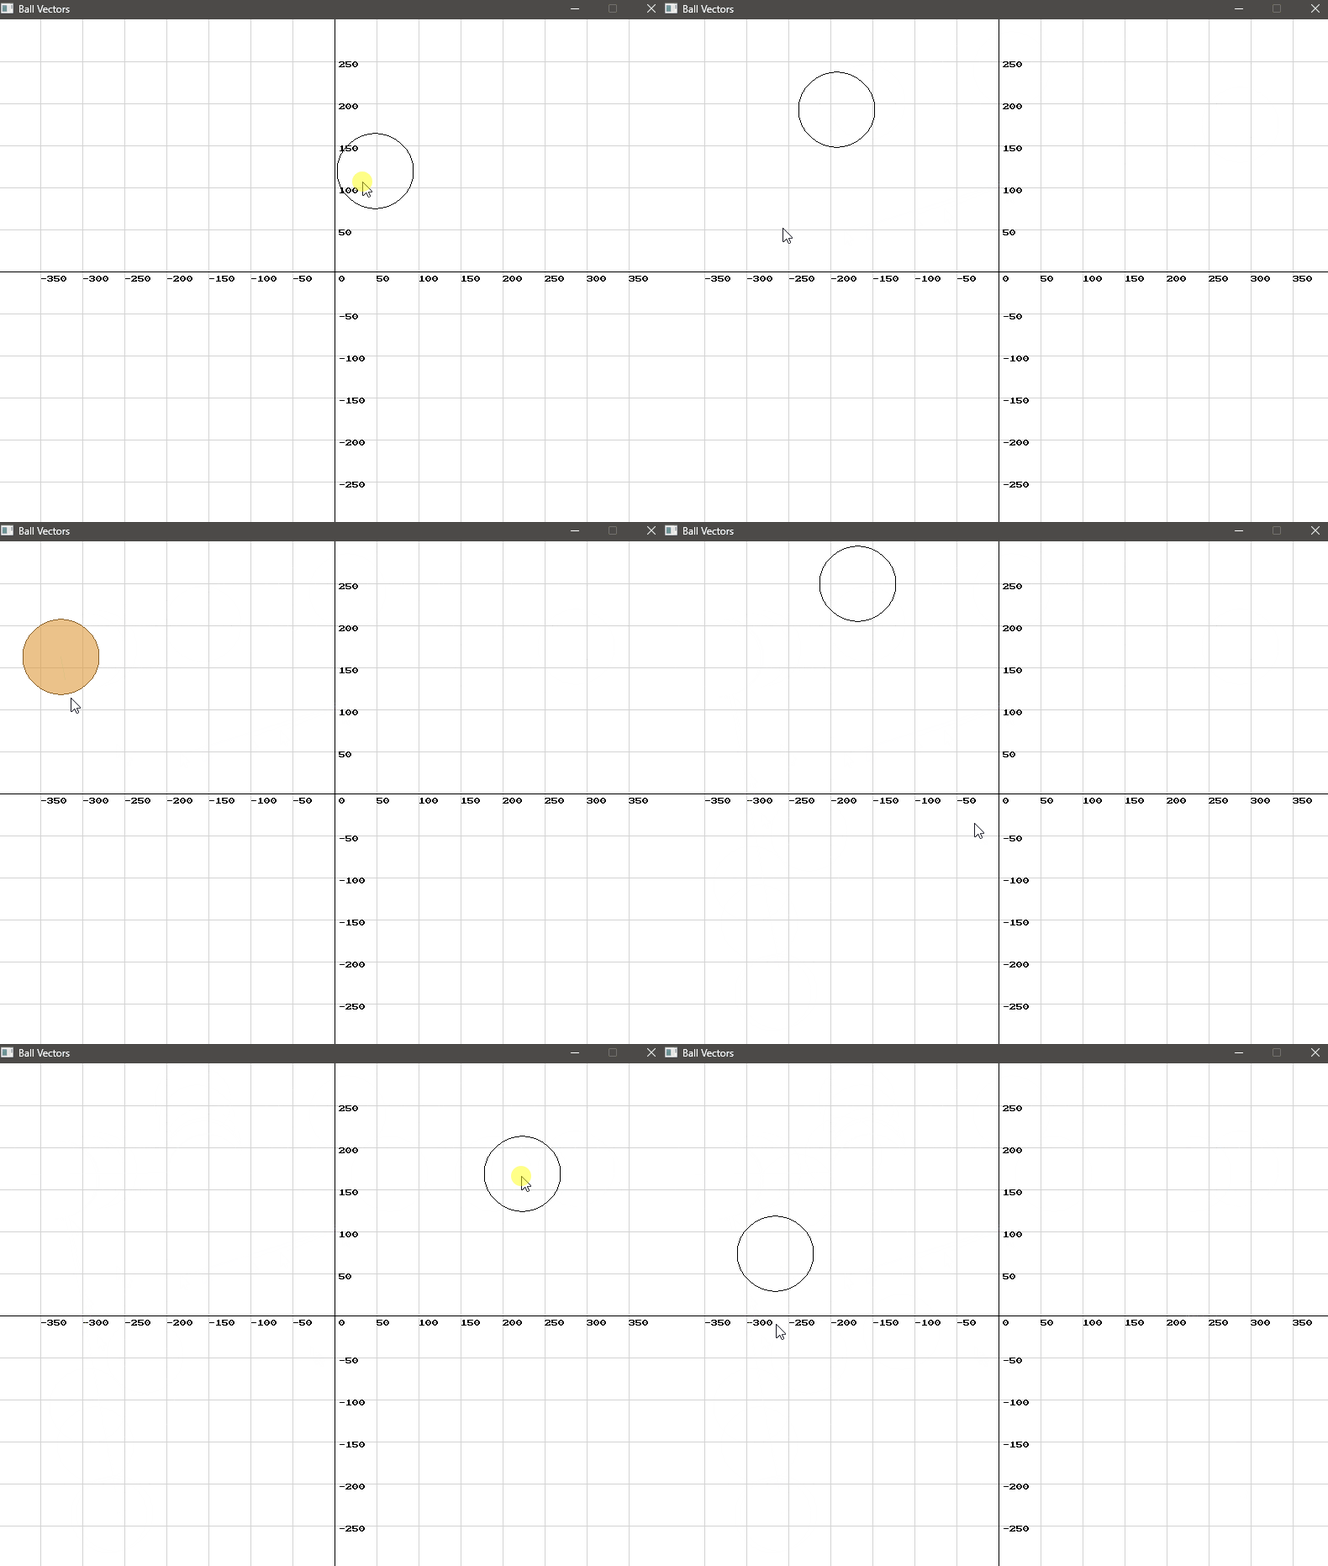
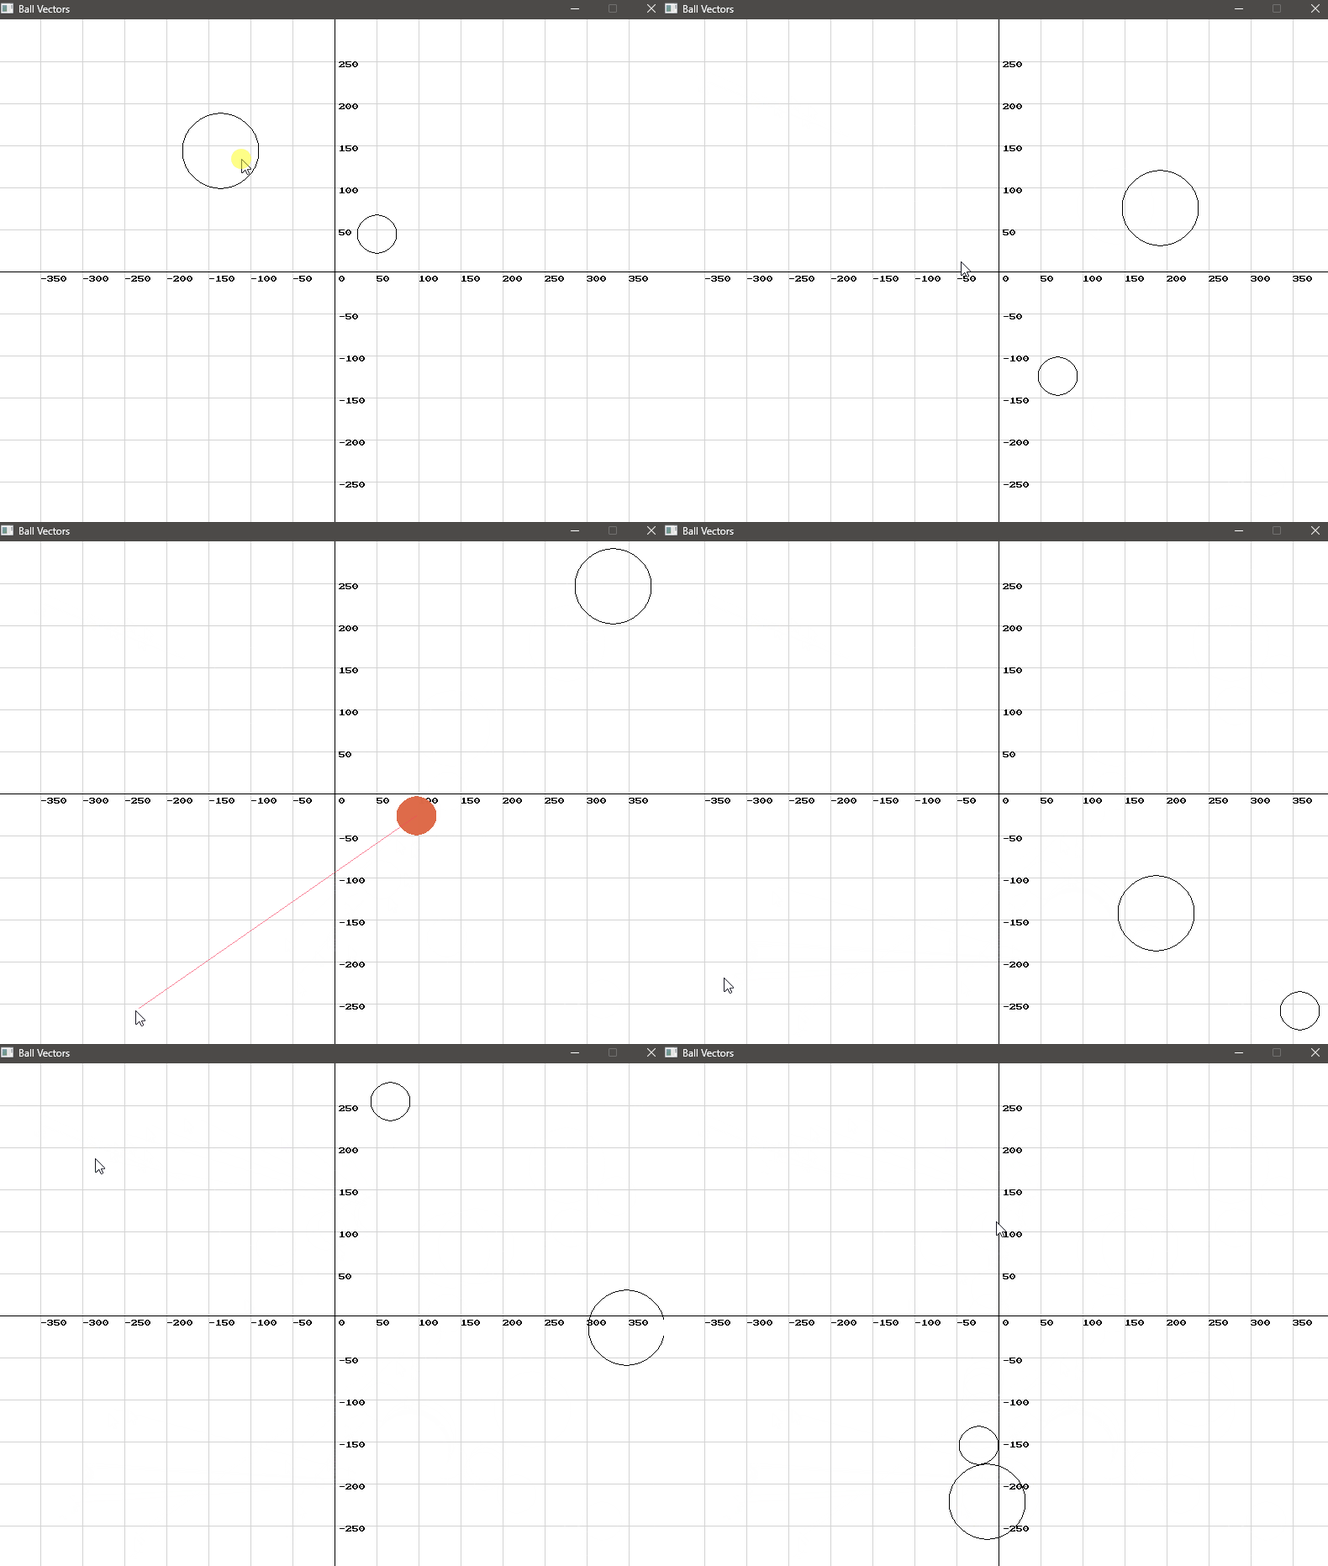
- Select a Ball: Click on a ball to select it. This will allow you to apply a force to this specific ball.
- Adjust the Force: Move the mouse around the window to adjust the magnitude and angle of the force. The direction and length of the vector from the ball’s center to the mouse position determine the force’s direction and magnitude.
- Apply the Force: Click the mouse again to apply the force to the selected ball.
We use SplashKit’s vector_point_to_point function to create a force vector from the ball’s center to the mouse cursor. This vector is then added to the ball’s velocity vector, adjusting its movement. To keep the movement within a reasonable range, we apply a scaling factor.
vector_2d force = vector_point_to_point(mouse_position(), selected_ball->ball_circle.center);selected_ball->velocity = vector_multiply(vector_add(selected_ball->velocity, force), SCALING_FACTOR);Recall that integrating the acceleration vector over time gives us the velocity, and integrating the velocity vector over time gives us the position.
In our simulation, we account for the effects of friction by using a deceleration factor. This factor reduces the ball’s velocity over time, simulating the slowing down due to friction. The process involves integrating the acceleration to update the velocity and then integrating the velocity to update the ball’s position.
- Deceleration Calculation: The deceleration factor is a negative value that simulates friction. By multiplying the current velocity by this factor, we obtain the deceleration vector.
- Velocity Update: The ball’s velocity is updated by adding the deceleration vector to the current velocity. Since the deceleration is negative, it will decrease the velocity over time.
- Position Update: The ball’s position is updated by adding the velocity components to the current position. This adjusts the ball’s position based on its current velocity.
double decceleration_factor = -0.015;
b.acceleration = vector_multiply(b.velocity, decceleration_factor);b.velocity = vector_add(b.velocity, b.acceleration);b.ball_circle.center.x += b.velocity.x;b.ball_circle.center.y += b.velocity.y;
Explanation
Section titled “Explanation”vector_multiply(b.velocity, decceleration_factor)calculates the deceleration vector, which will be subtracted from the ball’s velocity.vector_add(b.velocity, b.acceleration)updates the ball’s velocity by applying the deceleration.b.ball_circle.center.x += b.velocity.xandb.ball_circle.center.y += b.velocity.yadjust the ball’s position based on the updated velocity.
By integrating these calculations, you ensure that the ball’s movement is influenced by friction, leading to a more realistic simulation where the ball gradually slows down and eventually stops if no additional forces are applied.
To ensure that the balls remain within the visible area of the window, we need to check that they do not extend beyond the window edges. If a ball reaches the boundary, we reposition it within the window and reverse its velocity to simulate a bounce.
- Check Boundary Conditions: Verify if the ball’s position plus its radius extends beyond the window’s edges. If it does, adjust its position to ensure it stays within the window.
- Reverse Velocity: To create a bouncing effect, reverse the velocity component that is responsible for pushing the ball out of bounds.
// Check the left boundaryif (b.ball_circle.center.x - b.ball_circle.radius < 0){    b.ball_circle.center.x = b.ball_circle.radius; // Reposition ball inside the left boundary    b.velocity.x *= -1;                            // Reverse the x-velocity (bounce off the wall)}
// Check the right boundaryif (b.ball_circle.center.x + b.ball_circle.radius > screen_width()){    b.ball_circle.center.x = screen_width() - b.ball_circle.radius; // Reposition ball inside the right boundary    b.velocity.x *= -1;                                             // Reverse the x-velocity (bounce off the wall)}
// Check the top boundaryif (b.ball_circle.center.y - b.ball_circle.radius < 0){    b.ball_circle.center.y = b.ball_circle.radius; // Reposition ball inside the top boundary    b.velocity.y *= -1;                            // Reverse the y-velocity (bounce off the wall)}
// Check the bottom boundaryif (b.ball_circle.center.y + b.ball_circle.radius > screen_height()){    b.ball_circle.center.y = screen_height() - b.ball_circle.radius; // Reposition ball inside the bottom boundary    b.velocity.y *= -1;                                              // Reverse the y-velocity (bounce off the wall)}
Let’s see it in action!
Handling Collisions
Section titled “Handling Collisions”To handle collisions between multiple balls in the window, we need to determine if they have collided and then resolve the collision appropriately.
To check if two balls overlap, we use the Pythagorean theorem to compute the distance between their centres and compare it to the sum of their radii. If the distance is less than or equal to the sum of their radii, a collision has occurred.
double dx = c1.center.x - c2.center.x;     // Difference in x coordinatesdouble dy = c1.center.y - c2.center.y;     // Difference in y coordinatesdouble radius_sum = c1.radius + c2.radius; // Sum of both radii
// Returns true if circles overlap. Uses pythagorean theorum.return (dx * dx + dy * dy) <= (radius_sum * radius_sum);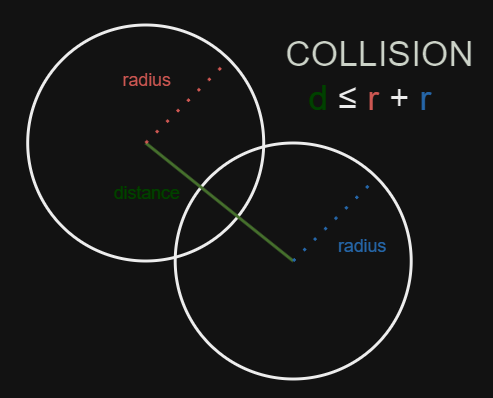
If any of the balls do indeed overlap, we have a collision. Once a collision is detected, we need to resolve it by updating the positions and velocities of the colliding balls.
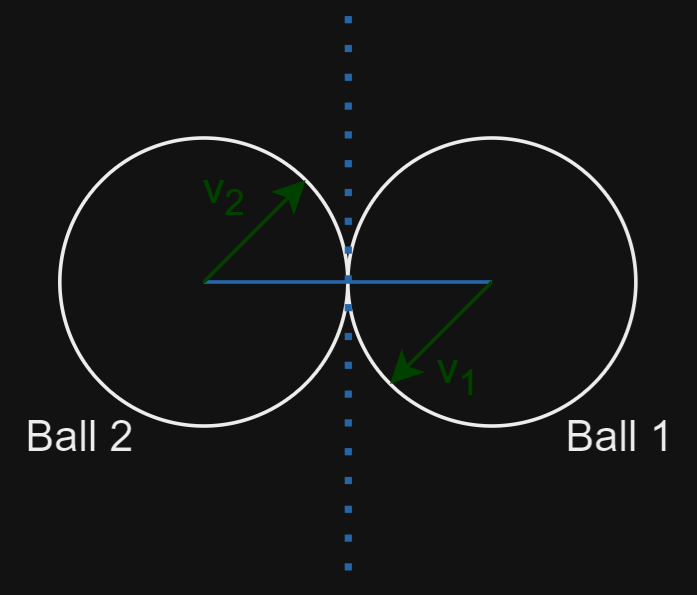
Let’s assume that Ball 1 is moving along its vector v1 and that Ball 2 is moving along its vector v2. If we draw a line between the two centre points and find the normal to that line (i.e. a line that is perpendicular to that), this tangential line (represented by the dotted line) effectively represents a solid object from which both balls will bounce off of. The movement of the balls along the normal after a collision is called the tangential response.
To resolve the collision and apply the forces to each of the balls, we follow the following steps:
Calculate Overlap
Section titled “Calculate Overlap”Determine the amount of overlap between the two balls by calculating the distance between their centers and comparing it to the sum of their radii.
float dx = ball_1.ball_circle.center.x - ball_2.ball_circle.center.x;float dy = ball_1.ball_circle.center.y - ball_2.ball_circle.center.y;float distance_squared = dx * dx + dy * dy; // Square of the distance between the centersfloat distance = sqrt(distance_squared); // Actual distance between the centersfloat radius_sum = ball_1.ball_circle.radius + ball_2.ball_circle.radius;float overlap = 0.5f * (radius_sum - distance); // Amount of overlap between the ballsCompute Collision Direction
Section titled “Compute Collision Direction”Compute the normalised collision direction vector, which is a unit vector pointing from one ball’s center to the other.
vector_2d normalised_collision = {dx / distance, dy / distance};Resolve Overlap
Section titled “Resolve Overlap”Displace the balls to resolve any overlap. This displacement will be along the line between the two centres of the balls. We call this the normal response.
ball_1.ball_circle.center.x += overlap * normalised_collision.x;ball_1.ball_circle.center.y += overlap * normalised_collision.y;ball_2.ball_circle.center.x -= overlap * normalised_collision.x;ball_2.ball_circle.center.y -= overlap * normalised_collision.y;Calculate Vector Normal
Section titled “Calculate Vector Normal”Calculate the normal vector to the line that connects the two balls. This will form the point from which both balls will bounce off. This is where we use SplashKit’s vector_normal function.
vector_2d collision_normal = vector_normal(normalised_collision);Project Responses
Section titled “Project Responses”Project the normal and tangential responses onto the collision axes.
double ball_1_normal_dot_product = dot_product(ball_1.velocity, collision_normal);double ball_2_normal_dot_product = dot_product(ball_2.velocity, collision_normal);
double ball_1_collision_dot_product = dot_product(ball_1.velocity, normalised_collision);double ball_2_collision_dot_product = dot_product(ball_2.velocity, normalised_collision);
Caclulate Resulting Velocities
Section titled “Caclulate Resulting Velocities”To calculate the velocities after collision, we must also factor in the mass of each ball. In physics, an elastic collision is one between two bodies in which the total kinetic energy of the bodies remains the same. We use the following formula:
float ball_1_momentum = (ball_1_collision_dot_product * (ball_1.mass - ball_2.mass) + 2.0f * ball_2.mass * ball_2_collision_dot_product) / (ball_1.mass + ball_2.mass);float ball_2_momentum = (ball_2_collision_dot_product * (ball_2.mass - ball_1.mass) + 2.0f * ball_1.mass * ball_1_collision_dot_product) / (ball_1.mass + ball_2.mass);Apply Velocities
Section titled “Apply Velocities”Finally, set the new velocities after the collision. This is simply the sum of the normal and tangential responses.
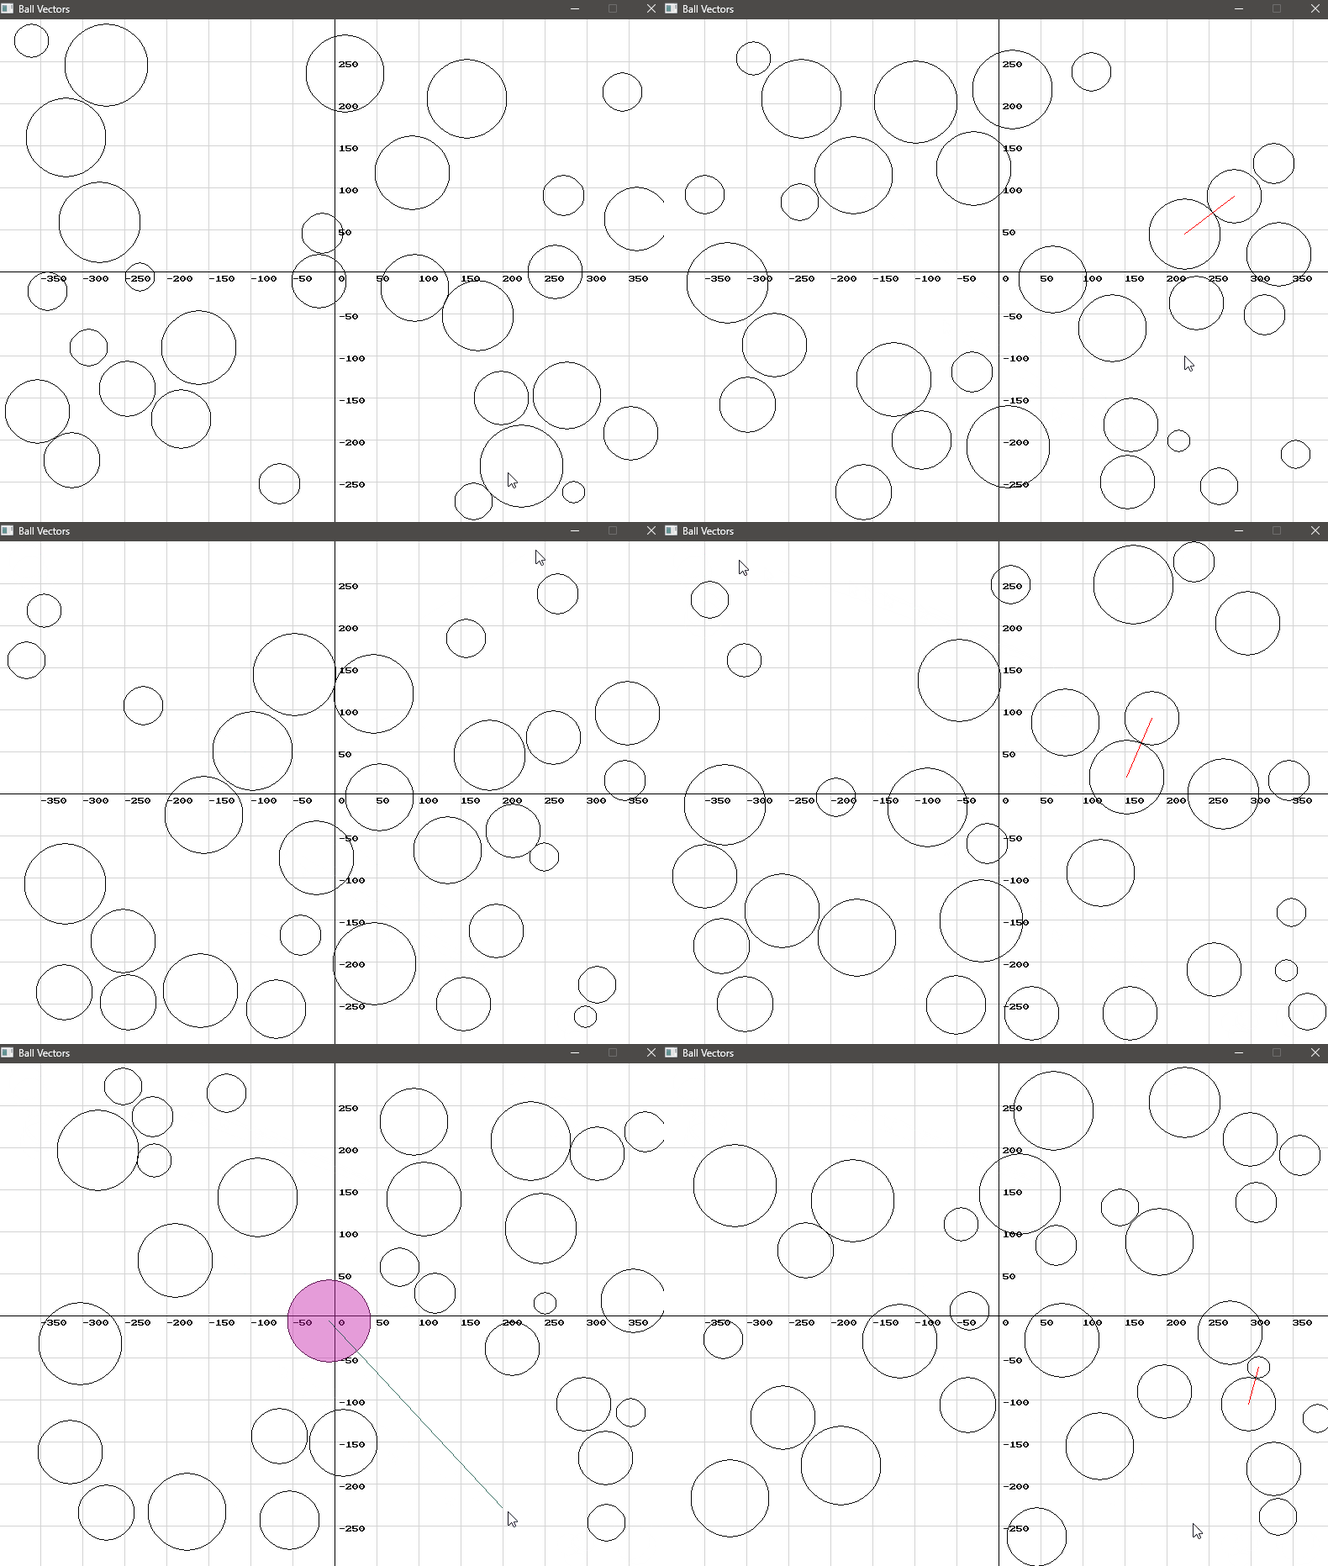
// Set the new velocities after collisionball_1.velocity = vector_add(vector_multiply(collision_normal, ball_1_normal_dot_product), vector_multiply(normalised_collision, ball_1_momentum));ball_2.velocity = vector_add(vector_multiply(collision_normal, ball_2_normal_dot_product), vector_multiply(normalised_collision, ball_2_momentum));Let’s see it in action!
Play around with the number of balls, the scaling factors and circles sizes or masses to get a feel for how you can use 2D vectors and vector physics in your games.
Conclusion
Section titled “Conclusion”Mastering vector mathematics will bring your 2D games to the next level. Vectors simplify calculations for movement, collision detection, and rendering, making them great for creating realistic simulations and interactive experiences. Similarly, in computer graphics, vectors are fundamental for transformations, lighting, and shading, enabling dynamic and visually appealing scenes.
Beyond game development and graphics, vectors are essential in physics simulations for modeling forces and trajectories, and in data science for feature representation and analysis. Understanding vectors enhances problem-solving capabilities and supports efficient implementations in these areas, making it a valuable skill for both academic and professional pursuits.
This tutorial covered how to detect and resolve collisions between moving objects using vectors in SplashKit. You can apply these principles to create realistic interactions in your games or simulations.