
Install WSL and Command Line Tools
SplashKit requires several command line tools to be installed on your system before you proceed with the installation. Follow the steps below to install these tools, then you can continue with the SplashKit installation.
Windows Subsystem for Linux (WSL) is a feature of Windows that lets you run a Linux environment on your Windows machine without needing a virtual machine or dual-boot setup.
Installation Steps
-
Install WSL (Ubuntu)
Method 1: Command Line (Recommended)
To install both WSL and Ubuntu from the command line, follow these steps. Open Terminal, PowerShell, or Command Prompt in administrator mode by right-clicking and selecting “Run as administrator,” then enter the command below:
Terminal window wsl --install
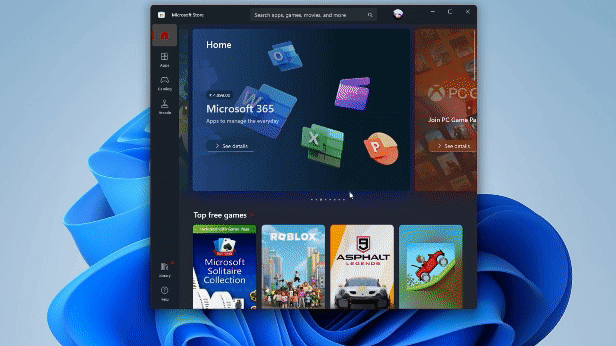
Method 2: Microsoft Store (Alternative)
Alternatively, you can install WSL (and Ubuntu) directly from the Microsoft Store.
- Search “WSL” in the Microsoft Store app, or click here.
- Next, download Ubuntu from the Microsoft Store. Search “Ubuntu,” or click this link.
-
Create Ubuntu User Account
Restart your computer if you haven’t already. After restarting, a terminal window will open to finish Ubuntu setup. If it doesn’t, open the WSL or Ubuntu app manually.
When prompted, enter a UNIX username and password.
For example, if you choose the username “default-user,” your terminal will look like this: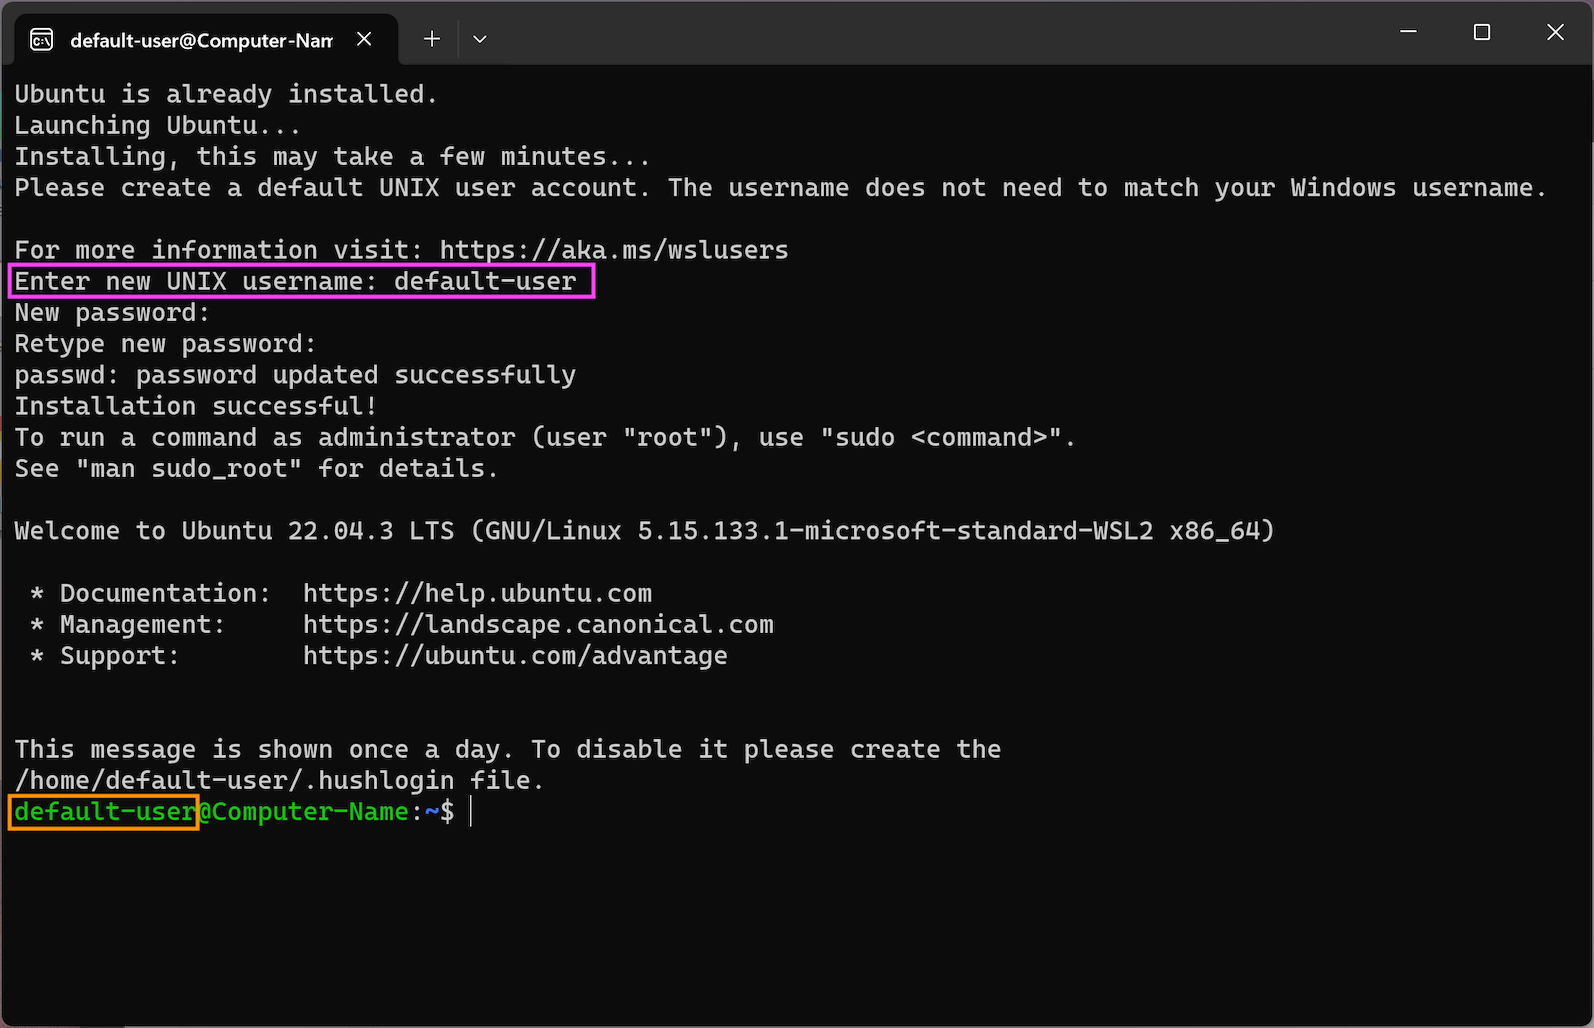
-
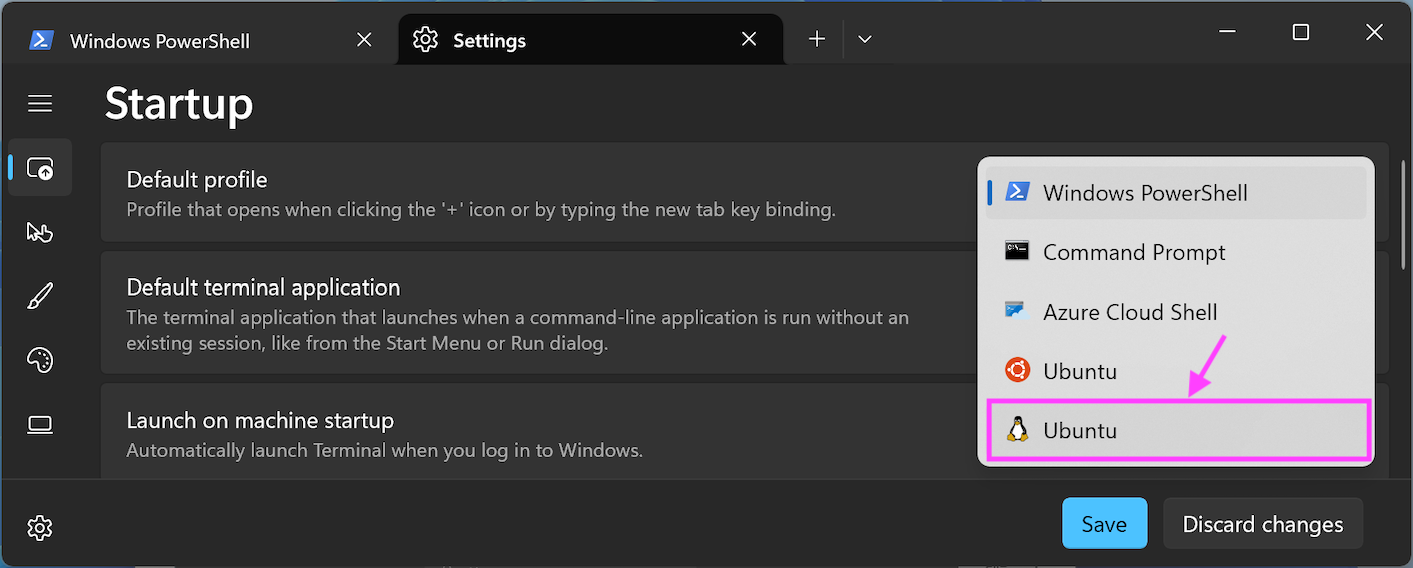
(Optional) Configure Windows Terminal for WSL
To have the Windows Terminal app automatically open with WSL, you can set the Default profile to WSL (Ubuntu).
- Open the Terminal app, click the drop-down arrow at the top of the window, then click “Settings.”
- In Default profile, select an Ubuntu profile. Choose the profile with the Linux penguin icon if available.
- Click Save to apply changes.
-
Install Command Line Tools
To proceed with SplashKit on WSL, you’ll need to install
git,curl, andclangusingaptin your WSL Terminal.First, update the package lists:
Terminal window sudo apt updateNext, install the tools:
Terminal window sudo apt install git curl clang
You’re now ready to proceed with the SplashKit installation. Continue to Step 2 to complete your setup.